Skip to main content
Search
Search This Blog
Fast, Cheap and Good
Sometimes food can be all three....
Posts
Showing posts from January, 2009
Show All
January 30, 2009
Food Pairing
January 29, 2009
Molecular gastronomy
January 12, 2009
Kale, kale, kale
January 12, 2009
Adventures in Pasta Making
January 12, 2009
Smoked Eel
January 12, 2009
Skate Wings With Garlic and Wine Vinegar
January 12, 2009
Chocolate Truffles
January 12, 2009
Aromatic Baked Gurnard With Chilli Pak Choi
January 12, 2009
Pea Soup
January 12, 2009
Pea, Mint and Goats Cheese Pasta
January 12, 2009
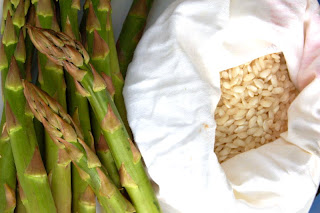
Asparagus Risotto
Newer Posts
Older Posts
Home